Getting Started
To add a new blog post, begin by hovering your mouse over the “Posts” tab on the left side of your website’s dashboard. This will cause four submenus to appear: “All Posts,” “Add New,” “Categories,” and “Tags.”
Click on “Add New.” This will pull up a new page that will allow you to add a blog post.
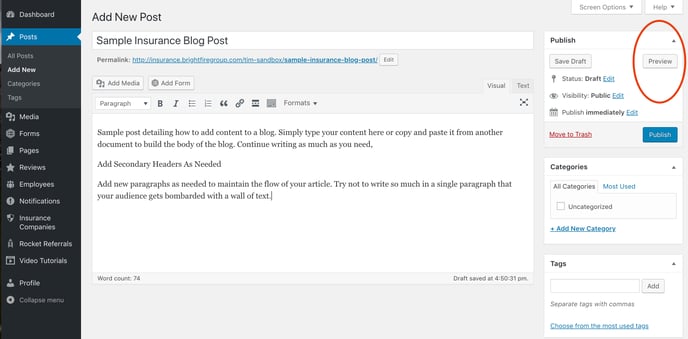
First, enter a title for your blog in the “Enter title here” bar at the top of the page. You can always change this later, so don’t worry if you don’t have the perfect title already in mind.
From there, you can add the content of your new blog post in the large white box in the center of the screen. You can copy and paste the blog content if you already have it written in another document, or you can type it from scratch.
If you would like to see what your blog will look like once it’s published, you can click the gray “Preview” button on the right side at any point. This will open a new window that will show you how your blog will appear to any customers who visit your site. Clicking this button WILL NOT publish the blog.
Adding Pictures, Categories, & Tags
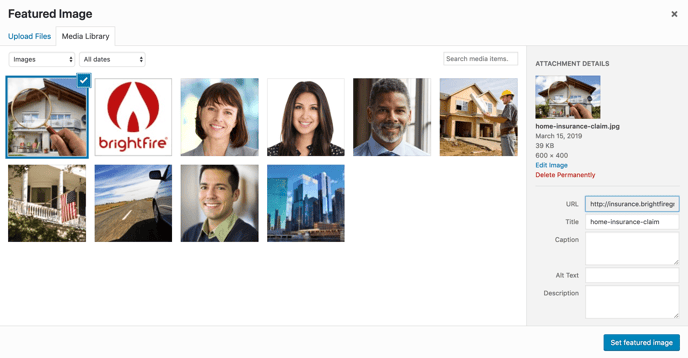
We recommend including a photo with each blog post in order to better engage readers. To add a new image to your post, begin by clicking the blue “Set featured image” link on the right side of the page. It will be underneath a larger header that says “Featured Image.”

From here, you will see two tabs in the upper left corner of your page: “Upload Files” and “Media Library.”
If you would like to upload a new image, click on the “Upload Files” tab. To add a new picture, either drag and drop the image anywhere in the white box or click the gray “Select Files” button to search for the image in your computer’s files.

If you would like to select an image that has already been uploaded to your website, click on the “Media Library” tab. This will display all images that have been uploaded to your site in the past. Click the image you would like to use so that the image information appears on the right side of the screen.
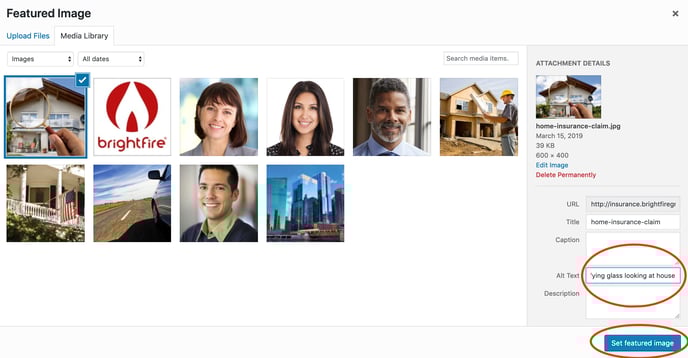
Once you have selected the image you want to add, find the “Alt Text” bar within the image information on the right side of the screen. Use this bar to add a few brief words to describe the image.
After you have added the alt text, click the blue “Set featured image” button to add the picture to your blog post.
Important: Please make sure that the image you choose to use is licensed under Creative Commons, or that you own a license to use the image. Simply searching Google and using a copyrighted image can lead to legal action being taken against you by the copyright holder for unauthorized usage.
You can search for images that are licensed under Creative Commons here: https://search.creativecommons.org/
Alternatively, you can use a stock photography service to purchase a license for professional photos. Our stock photography service of choice is iStockPhoto, which you can visit here: http://www.istockphoto.com/
Your featured image will now appear at the top of your blog once the blog is published and viewed from your website.
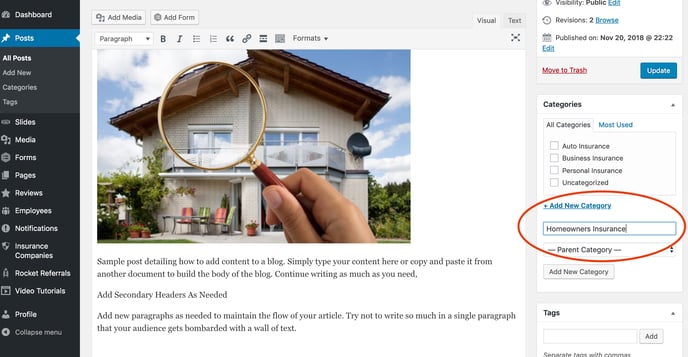
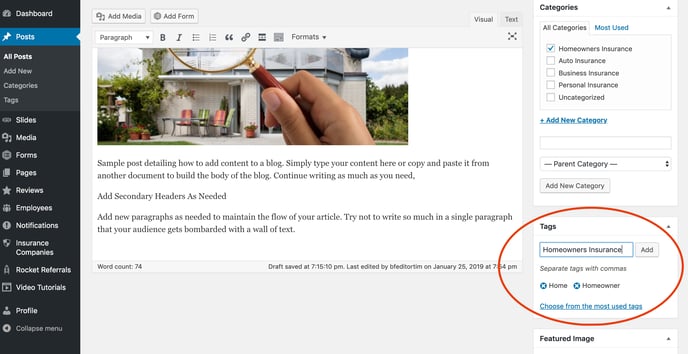
Although it is not required, you can also add categories and tags to your blog to make it easier for readers to find specific content. For example, say you have a homeowners insurance blog about finding the right homeowners policy. You may find it helpful to set the category to “Homeowners Insurance” and then tag the post with keywords found throughout the article, such as “home,” “homeowners,” “insurance policy,” etc. This way, customers who visit your website will be able to search by these categories keywords in order to find the types of articles they want to read.
To add categories, select as many as you would like from the Categories list on the right side of the page. If you would like to add additional categories that are not already available, click on the blue underlined “Add New Category” link, fill in the new category, and then click the gray “Add New Category” button underneath.
To add a tag, simply type the tag you would like to use into the Tags field on the right side, then click the gray “Add” button. You can add as many tags as you like, but make sure that they are closely related to the content of the post.
Publishing Your Post
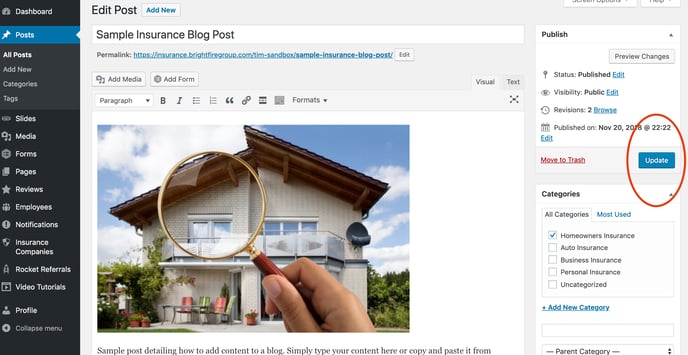
Now that you have chosen a title, composed your content, and inserted any images for your new post, you’re ready to publish! Simply click the blue “Publish” button on the right side of your screen and your post will go live for people to see on your website.
Important: New content can take up to 15 minutes to show up on your live website. This is because your website stores a cached version of your content in order to load the site faster in the future. If you would like to clear this cache and force your browser to load the latest version of your website so that you can see these changes immediately, please read our article on clearing your browser's cache.
Please feel free to submit a new ticket if you need additional help.